Top Tips For Jet Washing Your Patio
Your patio, a sanctuary of relaxation and entertainment, deserves the utmost care and attention to maintain its pristine condition. Over time, exposure to the elements, foot traffic, and natural debris can leave your outdoor space looking tired and worn.
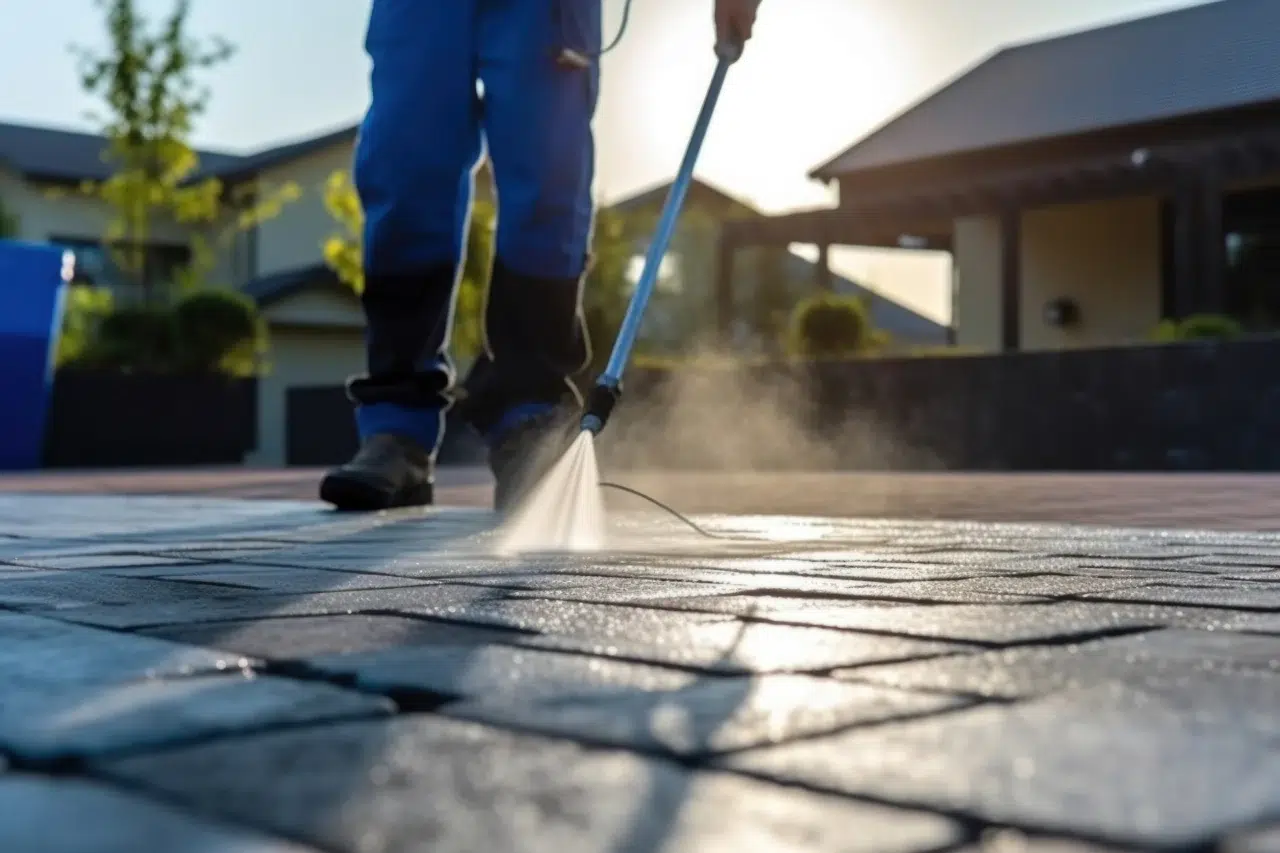
Fortunately, jet washing offers a powerful solution to rejuvenate your patio, restoring its beauty and enhancing its longevity. In this comprehensive guide, we’ll delve into the best practices, techniques, and tips for jet washing your patio like a pro.
Understanding The Basics of Jet Washing
Before diving into the nitty-gritty of jet washing, it’s essential to understand the fundamentals of this cleaning method. Jet washing, also known as pressure washing, involves using a high-pressure stream of water to remove dirt, grime, mould, and other contaminants from surfaces.
This powerful cleaning technique is highly effective for revitalising various outdoor surfaces, including patios, driveways, decks, and fences. – TECHNIJET
Preparation Is Key
The key to a successful jet washing session lies in thorough preparation.
Start by clearing the patio of any furniture, planters, or other obstacles that could impede the cleaning process. Sweep away loose debris such as leaves, twigs, and dirt using a broom or leaf blower. Removing surface debris beforehand prevents it from clogging the jet washer and ensures a more efficient cleaning process.
Choose The Right Equipment
Selecting the appropriate jet washing equipment is crucial for achieving the best results. Invest in a high-quality pressure washer with sufficient power and versatility to tackle your patio’s specific cleaning needs. Opt for a model with adjustable pressure settings, spray nozzles, and surface cleaner attachments for greater control and efficiency.
Additionally, consider the type of detergent or cleaning solution to use with your pressure washer. Choose a biodegradable and eco-friendly cleaner formulated for outdoor surfaces to effectively break down stubborn stains and grime without harming the environment or surrounding vegetation.
Test Before You Begin
Before unleashing the full force of your pressure washer on the entire patio surface, it’s advisable to conduct a test patch in a discreet area. Adjust the pressure settings and spray nozzle to determine the optimal combination for your patio’s material and condition. This precautionary step helps prevent accidental damage and ensures that the cleaning process yields the desired results without causing harm.
Mastering The Technique
When it comes to jet washing your patio, technique plays a pivotal role in achieving thorough and consistent cleaning results. Begin by holding the pressure washer wand at a slight angle to the surface, approximately 12 to 18 inches away. Move the wand in a sweeping motion, overlapping each pass to ensure uniform coverage and effective soil removal.
Exercise caution when cleaning delicate surfaces, such as wooden decking or fragile tiles. Lower the pressure settings and maintain a greater distance from the surface to prevent damage or etching.
For stubborn stains or heavily soiled areas, consider using a rotary surface cleaner attachment. This specialised tool creates a rotating spray pattern that covers a larger surface area, reducing cleaning time and maximizing efficiency.
Pay Attention To Detail
As you progress with the jet washing process, pay close attention to areas of particular concern, such as cracks, crevices, and grout lines. Use a narrower spray nozzle or adjust the pressure settings to target these hard-to-reach areas effectively.
Take your time to ensure thorough cleaning and meticulous attention to detail, as it’s often the small, overlooked areas that make the most significant difference in the overall appearance of your patio.
Rinse And Restore
Once you’ve completed the jet washing process and achieved the desired level of cleanliness, it’s time to rinse away any remaining detergent residue and debris. Switch to a wide-angle spray nozzle or remove the pressure washer wand attachment altogether to create a gentle rinsing spray. Work methodically from one end of the patio to the other, ensuring complete coverage and thorough rinsing.
After rinsing, allow the patio surface to dry completely before replacing furniture and resuming normal use. Depending on the weather conditions and airflow, this may take several hours or longer. Patience is key to allowing the patio to dry thoroughly and prevent the formation of mold or mildew in damp areas.
Maintenance And Preservation
To prolong the results of your jet washing efforts and keep your patio looking its best, establish a regular maintenance routine. Sweep or rinse the patio surface regularly to remove loose debris and prevent the accumulation of dirt and grime. Consider applying a protective sealant or coating to enhance the patio’s resistance to stains, moisture, and UV damage.
Additionally, address any issues such as cracked or damaged paving stones, loose tiles, or deteriorating grout promptly to prevent further damage and maintain the structural integrity of the patio surface.
Transforming Your Patio With Jet Washing Mastery
Jet washing offers a powerful and effective solution for revitalising your patio and restoring its beauty and functionality. By following the best practices, techniques, and tips outlined in this guide, you can master the art of jet washing and achieve professional-quality results with ease.
From thorough preparation and equipment selection to meticulous technique and post-cleaning maintenance, each step plays a vital role in the success of your jet washing endeavor. With patience, attention to detail, and a commitment to excellence, you can transform your patio into a pristine outdoor oasis that enhances your enjoyment and enriches your home’s aesthetic appeal for years to come.